You want a popup to appear on your store after a short delay. Maybe it announces a promotion, highlights free shipping, or captures email addresses. Popup apps exist and work well, but they cost money each month and add another script to your store.
If your needs are simple, a small code snippet in your theme does the same job for free. A common use case is announcing a tiered discount promotion — spend $100 for 10% off, spend $150 for 15% off — and a popup is one of the most effective ways to make sure first-time visitors actually see it before they start browsing.
This guide covers how to add the popup, how to control when and where it appears, and how to prevent it from showing on every single page visit.
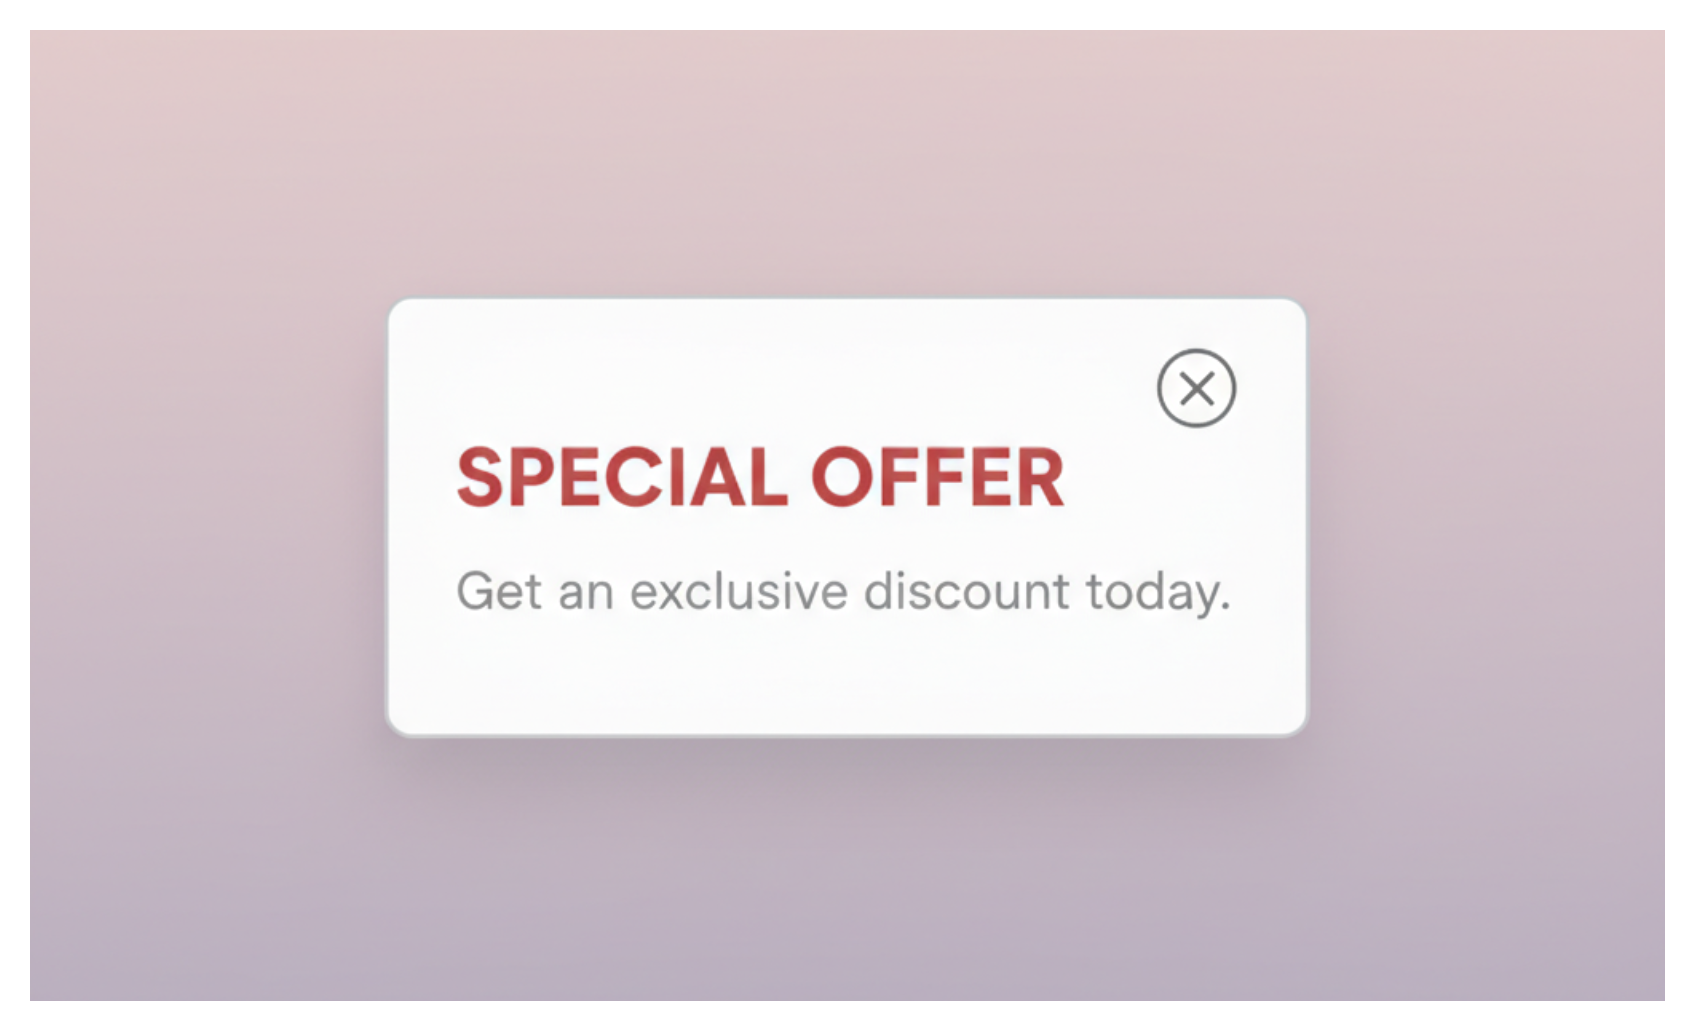
Step 1: Open Your Theme Code
In your Shopify admin, go to Online Store, then Themes. Click the three dots next to your live theme and select Edit code.
In the file tree, find and open theme.liquid. This is the main layout file that wraps every page on your store. Code placed here appears on all pages unless you add a template condition to limit it.
Scroll down until you find the opening <body> tag. Paste the popup code immediately after it.
Step 2: The Full Popup Code
{% if template == 'index' %}
<style>
#promoPopup {
display: none;
position: fixed;
top: 0;
left: 0;
width: 100%;
height: 100%;
background: rgba(0,0,0,0.5);
z-index: 9999;
}
#promoPopup .popup-box {
background: #fff;
max-width: 400px;
margin: 100px auto 0;
padding: 30px;
border-radius: 8px;
text-align: center;
position: relative;
}
#promoPopup .popup-close {
position: absolute;
top: 12px;
right: 16px;
cursor: pointer;
font-size: 20px;
color: #555;
background: none;
border: none;
line-height: 1;
}
#promoPopup h2 {
margin-top: 0;
}
#promoPopup .popup-btn {
display: inline-block;
margin-top: 16px;
padding: 10px 20px;
background: #000;
color: #fff;
text-decoration: none;
border-radius: 4px;
font-size: 14px;
}
</style>
<div id="promoPopup" role="dialog" aria-modal="true">
<div class="popup-box">
<button class="popup-close" aria-label="Close">×</button>
<h2>Special Offer</h2>
<p>Get free shipping on orders over $50 this weekend only.</p>
<a href="/collections/all" class="popup-btn">Shop Now</a>
</div>
</div>
<script>
(function() {
var COOKIE_NAME = 'promo_popup_seen';
var DELAY_MS = 8000;
function getCookie(name) {
var match = document.cookie.match(new RegExp('(^| )' + name + '=([^;]+)'));
return match ? match[2] : null;
}
function setCookie(name, value, days) {
var expires = new Date(Date.now() + days * 864e5).toUTCString();
document.cookie = name + '=' + value + '; expires=' + expires + '; path=/';
}
function closePopup() {
var popup = document.getElementById('promoPopup');
if (popup) popup.style.display = 'none';
}
document.addEventListener('DOMContentLoaded', function() {
if (getCookie(COOKIE_NAME)) return;
setTimeout(function() {
var popup = document.getElementById('promoPopup');
if (popup) popup.style.display = 'block';
}, DELAY_MS);
document.querySelector('.popup-close').addEventListener('click', function() {
setCookie(COOKIE_NAME, '1', 7);
closePopup();
});
document.getElementById('promoPopup').addEventListener('click', function(e) {
if (e.target === this) {
setCookie(COOKIE_NAME, '1', 7);
closePopup();
}
});
});
})();
</script>
{% endif %}
Click Save. Open your homepage in a private browser window to test it. The popup will appear after 8 seconds.
What Each Part Does
{% if template == 'index' %} limits the popup to the homepage only. The index template is the homepage in Shopify. If you remove this condition, the popup will appear on every page of your store including product pages and checkout.
COOKIE_NAME and setCookie set a browser cookie when the visitor closes the popup. The second argument to setCookie controls how many days the cookie lasts. With it set to 7, a visitor who closes the popup will not see it again for 7 days. Without this cookie logic, the popup would reappear every time the page loads.
DELAY_MS controls the delay in milliseconds before the popup appears. 8000 means 8 seconds. Change it to 3000 for 3 seconds or 0 to show it immediately on page load.
Clicking the overlay (the dark area outside the popup box) also closes the popup and sets the cookie, the same as clicking the X button.
Showing the Popup on Other Pages
The template == 'index' check uses Shopify's template variable to identify the current page type. You can change this to target other pages:
template == 'collection'shows the popup on all collection pagestemplate == 'product'shows it on product pagestemplate == 'cart'shows it on the cart page
You can also combine conditions:
{% if template == 'index' or template == 'collection' %}
Or remove the condition entirely to show the popup everywhere.
Adding an Email Capture Field
If you want to collect email addresses instead of just showing a message, replace the content inside .popup-box with this:
<h2>Get 10% Off Your First Order</h2>
<p>Enter your email and we will send you a discount code.</p>
<div id="popup-email-form">
  <input
    type="email"
    id="popup-email"
    placeholder="[email protected]"
    style="width:100%;padding:10px;margin-bottom:10px;border:1px solid #ccc;border-radius:4px;box-sizing:border-box;"
  />
  <button
    id="popup-email-submit"
    class="popup-btn"
    style="width:100%;cursor:pointer;border:none;"
  >
    Send Me the Code
  </button>
  <p id="popup-email-thanks" style="display:none;color:green;">
    Thanks! Check your inbox.
  </p>
</div>
Add this JavaScript before the closing </script> tag to handle the submit:
document
  .getElementById("popup-email-submit")
  .addEventListener("click", function () {
    var email = document.getElementById("popup-email").value;
    if (email && email.includes("@")) {
      document
        .getElementById("popup-email-form")
        .querySelector("input").style.display = "none";
      document.getElementById("popup-email-submit").style.display = "none";
      document.getElementById("popup-email-thanks").style.display = "block";
      setCookie(COOKIE_NAME, "1", 30);
    }
  });
This captures the email visually and shows a confirmation message. To actually store the email address and send it anywhere, you need to post it to your email platform's API or use a Shopify customer creation request. This snippet alone does not save the email to a list, it only provides the UI.
If email capture is your primary goal, a dedicated email capture app or a Klaviyo embedded form will handle the data storage and automation properly. The code approach is suitable for announcement-style popups where capturing data is not required.
Mobile Considerations
The popup as written is responsive. The .popup-box uses max-width: 400px and margin: 100px auto 0, which centers it on wide screens and fills the width on narrow mobile screens.
On mobile, 100px of top margin may push the box too far down on short screen heights. If the popup looks cropped on small phones, reduce the top margin for mobile:
@media screen and (max-width: 480px) {
  #promoPopup .popup-box {
    margin-top: 40px;
    max-height: 80vh;
    overflow-y: auto;
  }
}
Add this inside the existing <style> block.
When to Use an App Instead
The code approach works well for a static promotional message with basic timing and cookie control. It becomes limiting when you need:
A/B testing different popup variants
Analytics on how many people see and close the popup
Exit intent triggering (showing when the user moves their cursor toward the browser close button)
Integration with an email platform like Omnisend
Different popups for different customer segments
Apps like Privy handle all of these natively. For a simple announcement or one-time promotion, the code approach is sufficient and costs nothing.