You have moved your store from WooCommerce to Shopify using a migration tool like Cart2Cart or LitExtension. Most of your redirects are in place, and the big pages look fine. But you suspect some URLs were missed, and you want to catch them before they cause real damage.
This is a smart thing to check. Migration tools do a reasonable job, but they rarely get everything. Product URLs, category pages, tag archives, and old blog posts often slip through. Each broken URL that Google already indexed is a potential ranking loss if it lands on a 404 instead of a valid redirect.
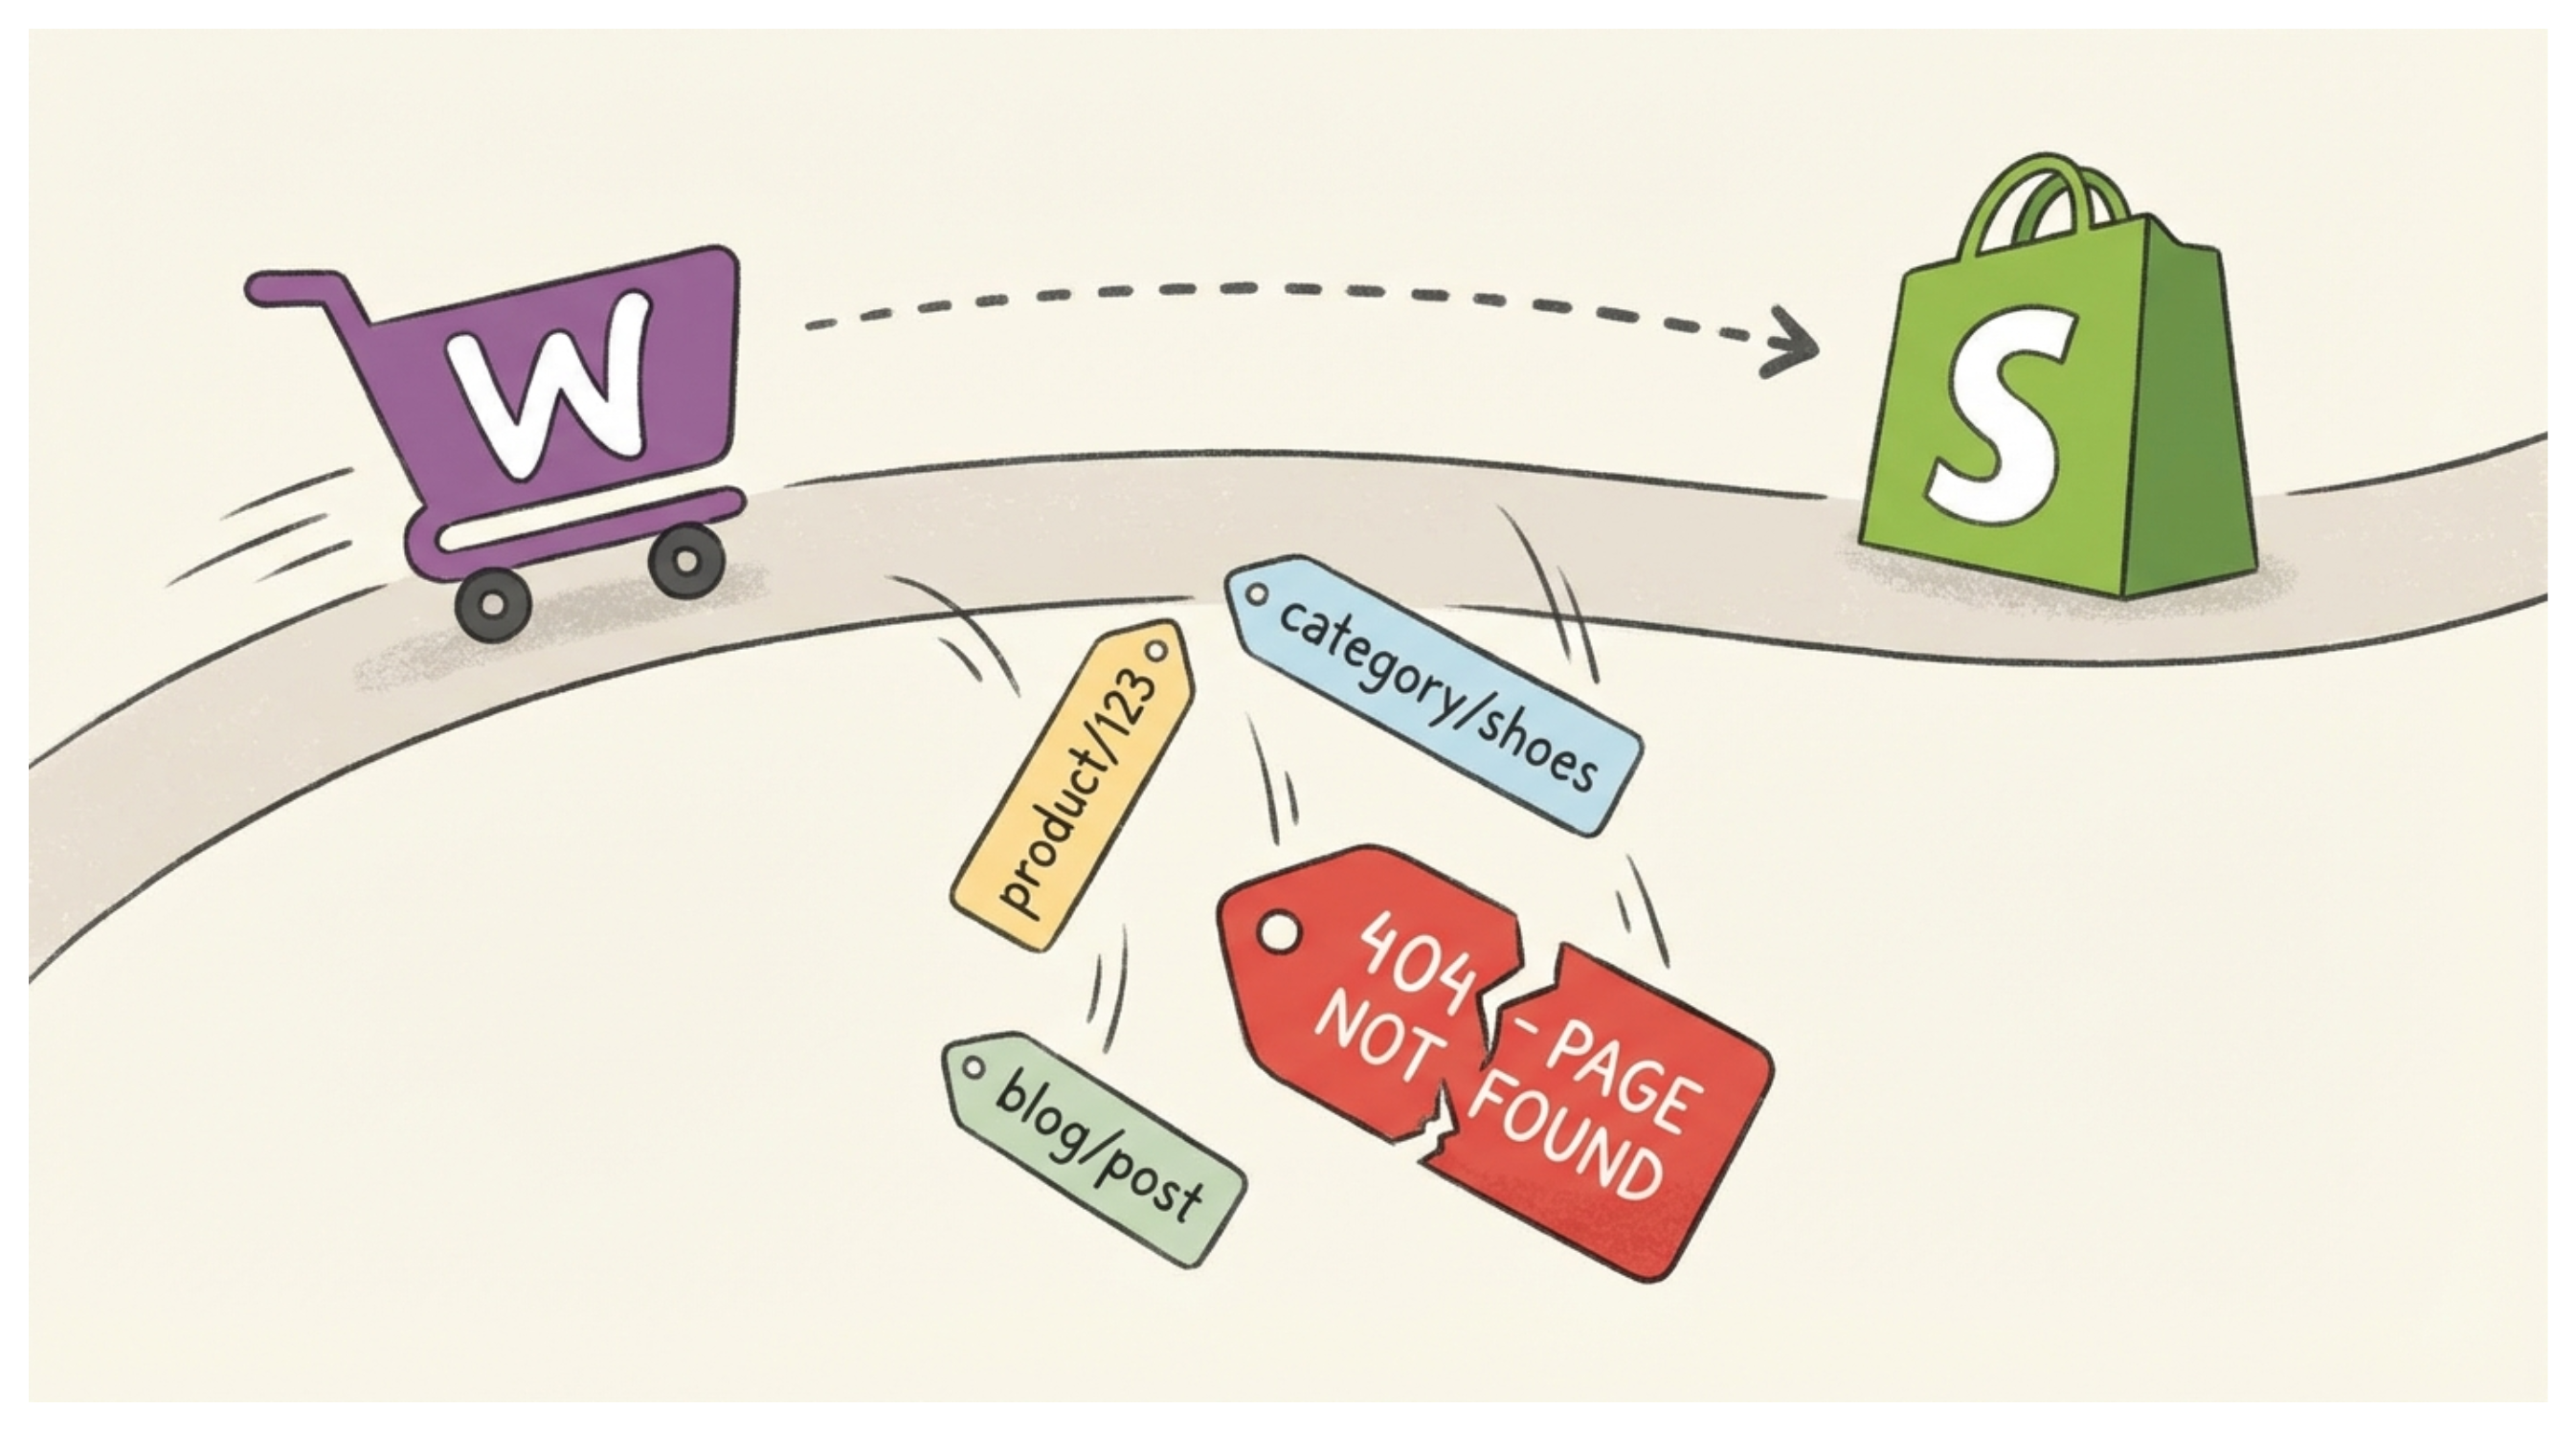
Here is how to find every missed redirect and fix it properly.
Why Migration Tools Miss Some URLs
Migration tools work by exporting your products, collections, pages, and orders. They typically handle product and collection redirects, but they do not always account for:
WordPress category URLs that do not map cleanly to Shopify collections
Individual tag pages from WooCommerce
Old blog post URLs with different slug structures
Author pages and pagination URLs that Google may have indexed
URLs with query strings or campaign parameters that were indexed historically
The issue is not the migration tool. WooCommerce and Shopify have fundamentally different URL structures. WooCommerce uses /product/, /product-category/, and /shop/. Shopify uses /products/, /collections/, and /blogs/. Even a perfect migration leaves gaps because the structures do not map one to one.
The Most Accurate Way to Find Missed 404s
The most reliable method is Google Search Console. No crawler matches what Google has already indexed for your old site, and Google will tell you exactly which URLs are returning errors.
Start by adding your new Shopify domain to Google Search Console if you have not already. Once your store is verified, Google will start crawling and reporting on URL status.
To find 404 errors, go to the Pages report on the left side. Inside the report, look for a section labeled Not Found. This lists every URL Google has tried to access that returned a 404 error.
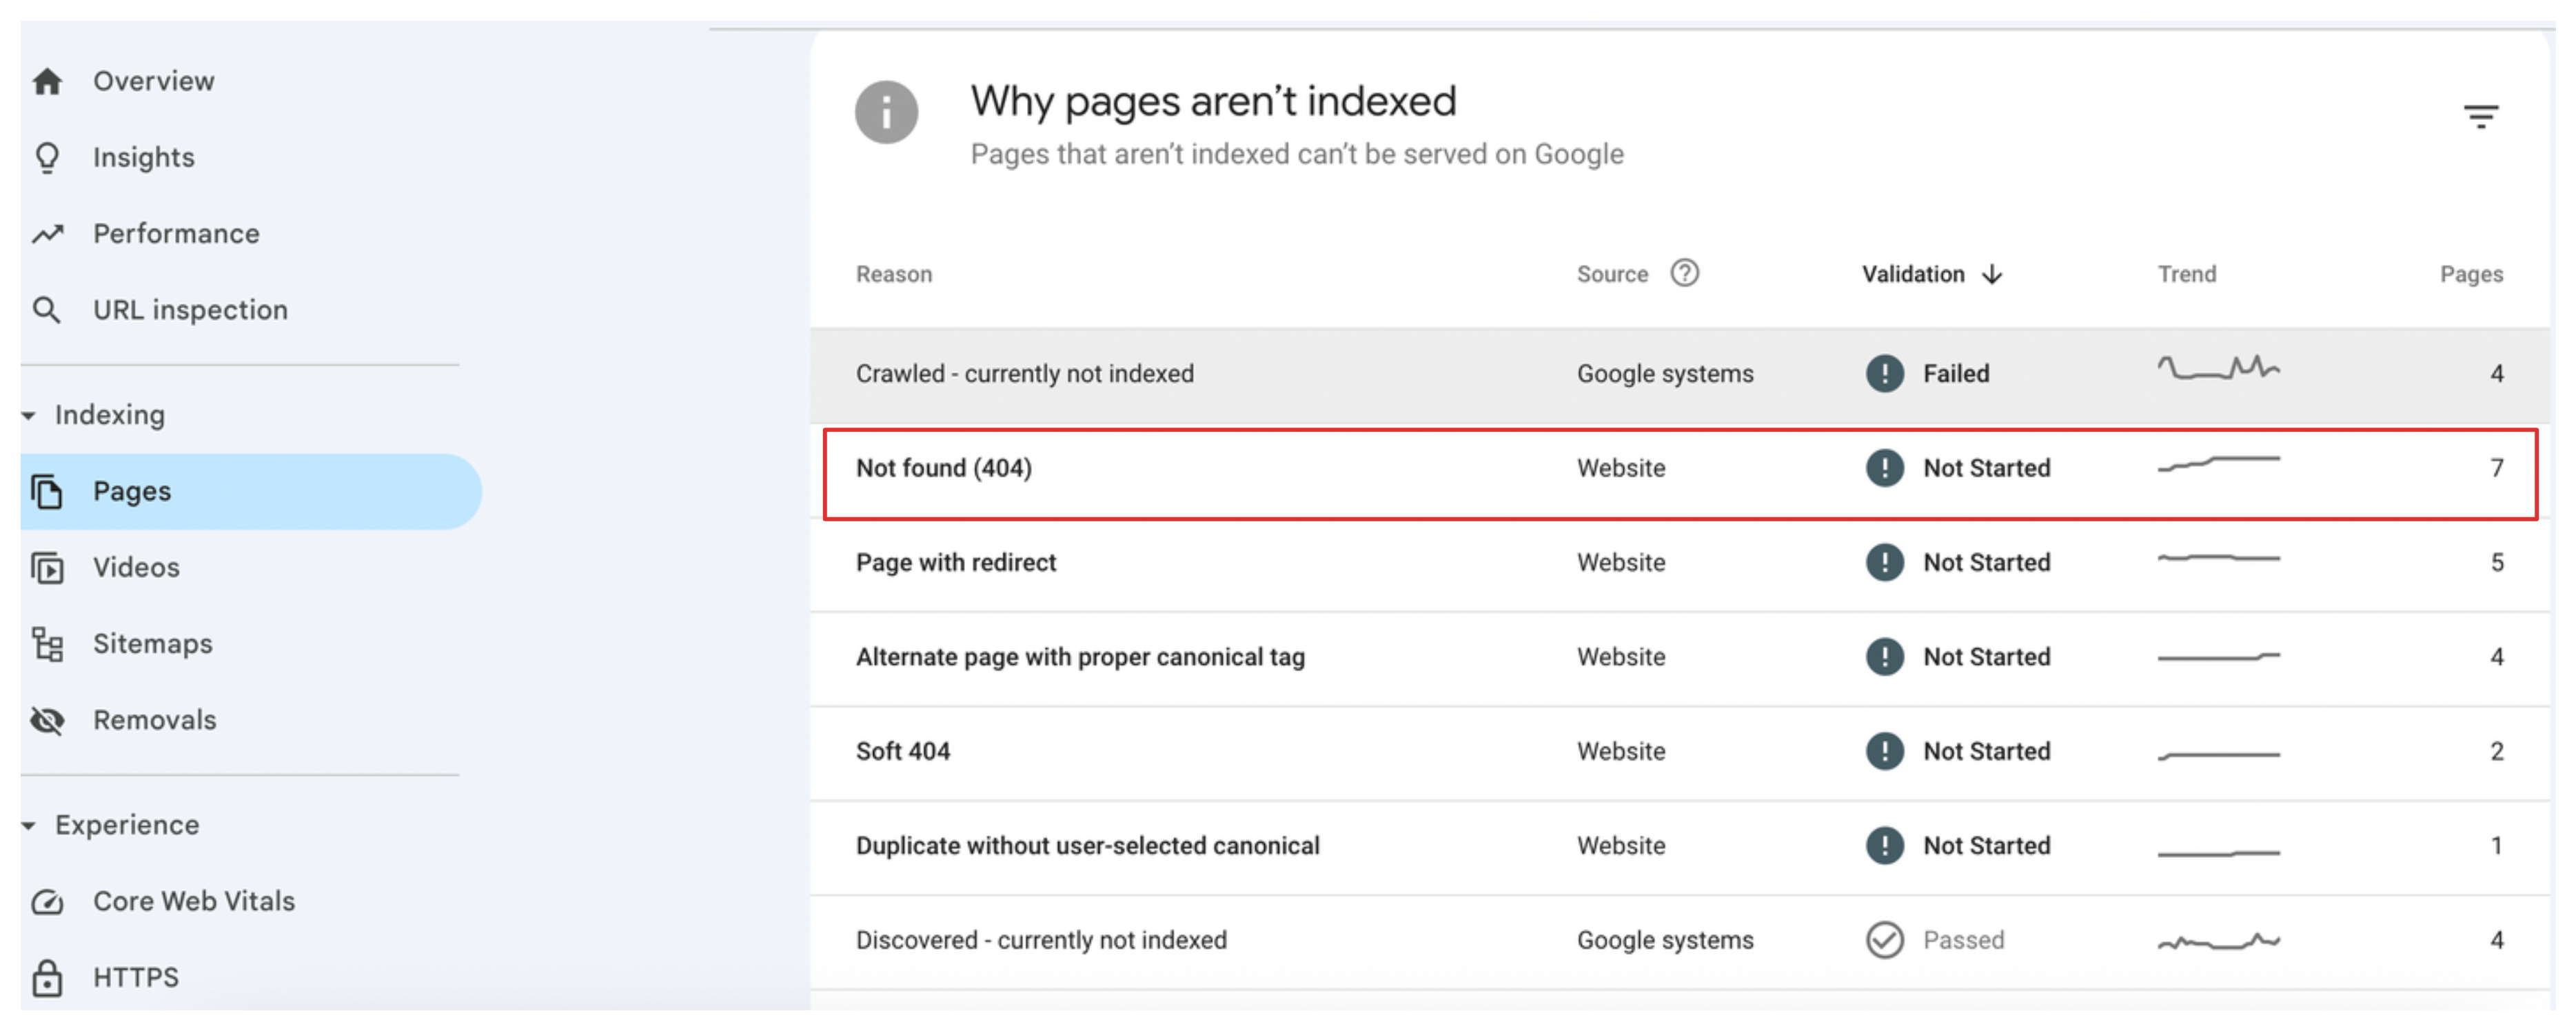
Google Search Console shows you the URL, when it was last crawled, and whether any other pages link to it. This gives you the full picture of what needs redirecting.
A Faster Way to Spot 404s Right After Migration
If you have just completed the migration and want faster results than waiting for Google to crawl, you can use a site auditing tool like Screaming Frog or Ahrefs Site Audit. These crawl your entire store and flag broken internal links and redirects within minutes.
The process is:
- Run a crawl of your new Shopify store
- Export the list of all URLs returning 4xx responses
- Cross-reference this against your old WooCommerce sitemap if you saved it
Your old WooCommerce XML sitemap is especially useful here. If you have it, you can feed it into Screaming Frog's list mode and it will check each URL one by one against your new Shopify store. Any URL that now returns a 404 is a gap that needs a redirect.
How to Add the Missing Redirects in Shopify
Once you have your list of broken URLs, adding redirects in Shopify is straightforward.
Go to your Shopify admin and navigate to Content, then Menus. At the top of the page you will find URL redirects. Click it to open the redirects list.
Click Create redirect. In the Redirect from field, enter the old WooCommerce URL path. In the Redirect to field, enter the correct Shopify URL that should receive the traffic.
For example, if your old WooCommerce product URL was /product/blue-ceramic-mug and your Shopify URL is /products/blue-ceramic-mug, set the redirect from /product/blue-ceramic-mug to /products/blue-ceramic-mug.
Repeat this for every URL on your list.
If you have a large number of redirects to add, Shopify supports bulk importing via CSV. The file needs two columns: Redirect from and Redirect to. You can prepare this in a spreadsheet and upload it directly through Content > Menus > URL redirects in your admin. The full process for building and importing that CSV is covered in detail in the article on handling 404s after a catalog cleanup, which applies equally here.
If you would rather manage redirects through an app with automatic 404 detection and a visual interface, SC Easy URL Redirects handles this from a single dashboard.
What Types of Old URLs to Prioritize
Not every old URL carries equal weight. Focus your effort in this order:
Product pages first. These had the most links, traffic, and indexing priority. A 404 on a product page means lost customers and lost rankings.
Collection and category pages second. These often rank for broad category searches. Missing redirects here can drop your visibility for entire product categories.
Blog posts and informational pages third. If your old WooCommerce blog had posts that ranked and attracted backlinks, those redirects matter for SEO too.
Pagination, tag, and author pages last. These rarely had meaningful backlinks or rankings, so they are low priority.
Checking Your Redirects Are Working
After setting up redirects, verify them. Open a browser in incognito mode and navigate to one of the old URLs. You should land on the correct Shopify page. If you land on a 404, the redirect path may have a typo or the slash handling may be off.
Also check that Shopify is not creating redirect chains. A redirect chain is when URL A redirects to URL B, which redirects to URL C. These slow down crawling and dilute any link equity passing through. Keep redirects direct: old URL to final Shopify URL in one step.
Monitoring for New 404s After Launch
Set a reminder to check Google Search Console every two weeks after migration. New 404s can appear as Google continues crawling pages it has not reached yet, or as external sites link to old URLs. Catching and fixing these early prevents long term ranking erosion.
If you see the same 404 appearing repeatedly with the same referrer, it may be an old external link pointing to your old URL structure that needs a redirect.
A clean redirect setup is one of the highest-leverage things you can do after a platform migration. It takes a few hours to do properly, but it protects months of accumulated SEO work from being thrown away. Once your redirects are in place, the next step is making sure your Shopify store is set up to actually rank — which includes product page content, structured data, and collection page copy.
The article on making your Shopify store appear in AI and search results covers what actually moves the needle there.
If you also run Google Shopping campaigns, getting your product data clean in Google Merchant Center is the paid-traffic equivalent — the article on why Shopify and Google Merchant Center fall out of sync covers how to stop the cycle of recurring data errors.
If you are migrating and have not yet set up a custom domain on your new Shopify store, do that before pointing traffic to it. The article on how to add a custom domain to Shopify covers both buying through Shopify and connecting an existing domain with the correct DNS settings.