How Shopify Purchase Orders, Transfers, and Incoming Inventory Work Together

If you manage supplier orders in Shopify and find yourself confused about when quantities show as Incoming, when to create a transfer, and why the current system feels different from how Stocky used to work, you are not alone.

The separation between purchase orders and transfers in the current Shopify admin trips up a lot of merchants, especially those who previously used Stocky.

The biggest thing to understand is that Shopify now separates ordering inventory from tracking shipments. Purchase orders tell Shopify what you have ordered from suppliers. Transfers track inventory moving between locations or shipments that are physically in transit.

Understanding that distinction makes it much easier to understand when inventory appears as Incoming and how to manage pre-orders, partial shipments, and supplier deliveries.

This article explains exactly what each tool does, when Incoming inventory updates, and how to build a workflow that keeps inventory visibility accurate.

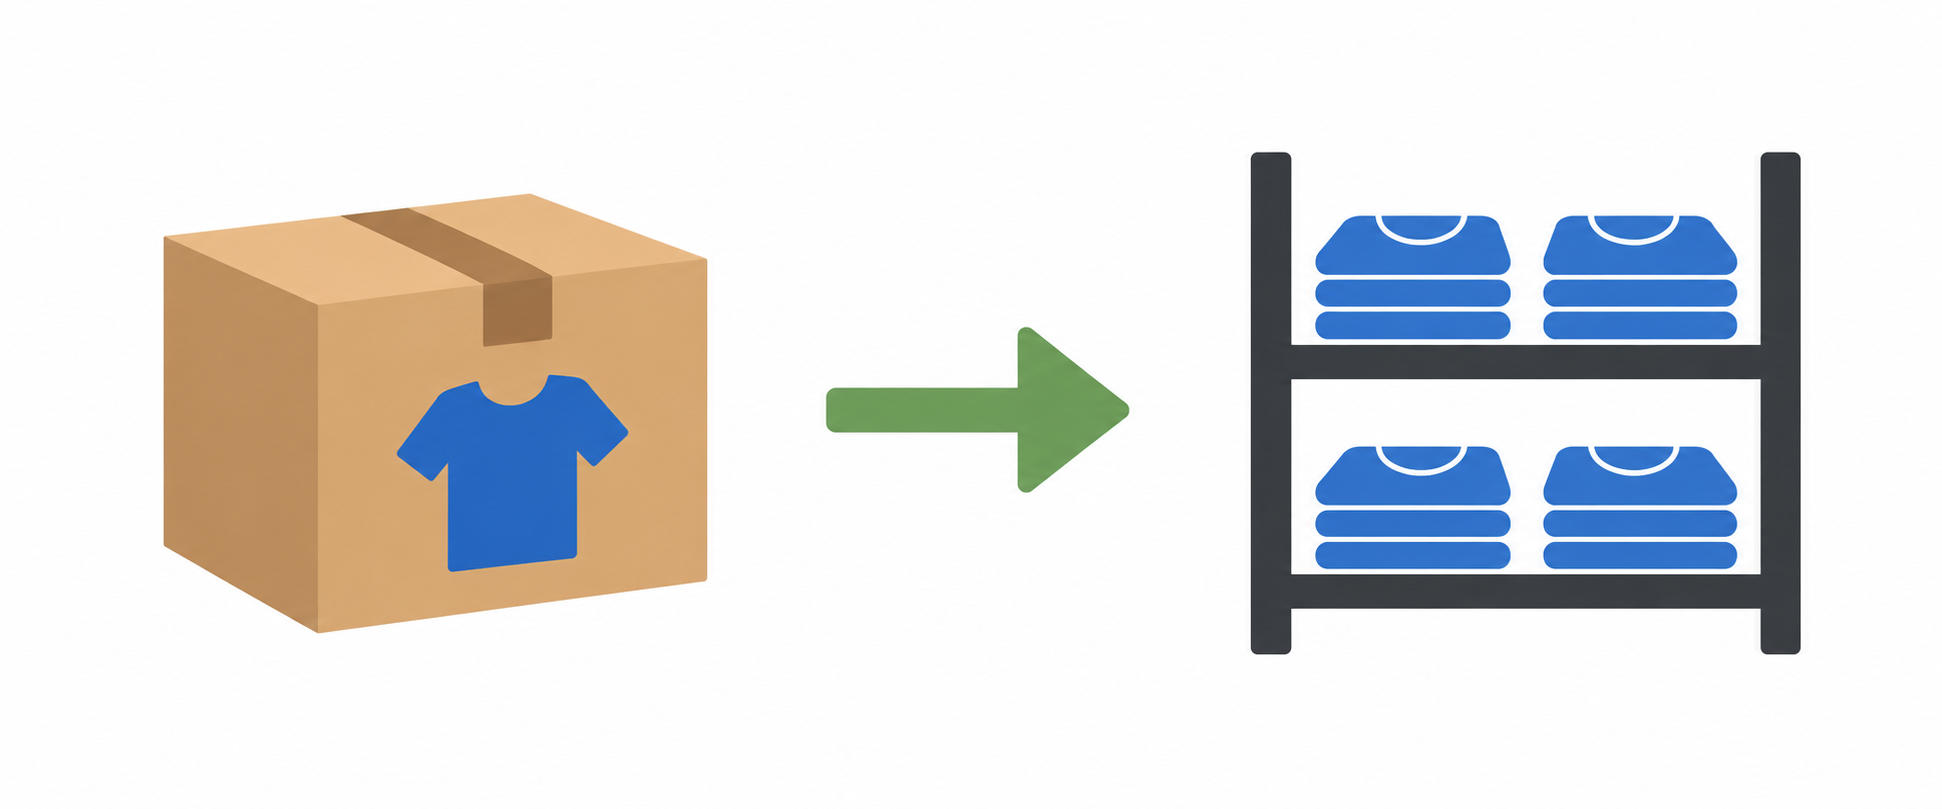
Shopify inventory workflow showing purchase orders, transfers, and incoming stock

Purchase Orders vs Transfers

Before diving into the details, here is the simplest way to think about the two tools:

TaskPurchase OrderTransfer
Order inventory from a supplierYesNo
Update Incoming inventoryYesYes
Move stock between your own locationsNoYes
Track shipments in transitOptionalYes
Add carrier tracking informationOptionalYes
Receive inventoryYesYes

Many merchants assume they need a transfer before inventory will show as Incoming. In most supplier ordering scenarios, that is not the case. Marking a purchase order as Ordered is enough.

The Four Inventory States You Are Working With

Before getting into POs and transfers, it helps to understand the four inventory states Shopify tracks per product per location.

Available is inventory that is in stock and ready to sell. This is the number that determines whether a customer can buy a product.

Committed is inventory that has been sold but not yet fulfilled. Orders that have been placed but not shipped.

Incoming is inventory on its way to your location from purchase orders or transfers. It is not yet available to sell. After you receive the inventory, the state changes to Available automatically.

Unavailable is inventory that is on hand but not available to sell, for example items set aside for quality control, reserved for draft orders, or held by apps.

The Stocky Difference

Many long-time Shopify merchants are familiar with Stocky's purchase order workflow, where marking a PO as Ordered moved quantities into Incoming inventory. That behaviour has not changed.

What has changed is that Shopify now separates inventory ordering from shipment tracking more clearly. Stocky bundled more of those workflows together. In the current Shopify admin, purchase orders manage the ordering process, while transfers manage inventory movement and shipment tracking.

For merchants who previously relied on Stocky, this separation is often the source of confusion. The important takeaway is that marking a purchase order as Ordered still updates Incoming inventory exactly as expected.

What Marks Inventory as Incoming: Purchase Orders

When you create a purchase order, you can save it as a draft to work on later, or mark it as Ordered to update your incoming inventory counts.

You do not need to create a transfer for inventory to show as Incoming. Marking a purchase order as Ordered is enough. The quantities on that PO immediately appear in the Incoming column on your Inventory page.

To see this in your admin, go to Products, then Inventory. The Incoming column shows the total quantity expected from all active purchase orders and in-transit transfers for that product at each location.

For pre-orders from a supplier, the correct workflow is:

  1. Create a purchase order with the products and quantities you are ordering
  2. Mark it as Ordered once your supplier confirms
  3. The quantities now appear as Incoming on your Inventory page
  4. When goods physically arrive, receive them against the PO, which converts Incoming to Available

You do not need a transfer at all if you are buying directly from a supplier to your own location. Transfers are for a different purpose.

What Transfers Are Actually For

A transfer in Shopify is for moving inventory between your own locations. If you have a warehouse and a retail store, and you want to send 50 units from the warehouse to the store, that is a transfer. The inventory leaves one location's Available count and appears as Incoming at the destination until it is received there.

After you hand goods to a shipping carrier, you mark the shipment as in transit. That status tells Shopify the inventory is physically moving between your locations.

Shopify does allow you to create a transfer linked to a purchase order. This is useful when you want to track the physical shipment details, add a tracking number, or manage partial receiving at a more granular level. But creating this linked transfer is optional, not required for the PO quantities to show as Incoming.

If you are buying from a supplier and receiving directly at one location, a purchase order alone is enough. You only need a linked transfer if you are routing the incoming goods through multiple locations or want shipment-level tracking with carrier details attached.

How to Handle Multiple Pre-Orders from One Supplier

If you have multiple ongoing pre-orders from the same supplier, each entered as a separate PO, you may want to see total incoming quantities per product across all purchase orders without having to mark everything as shipped.

Each PO marked as Ordered contributes its quantities to the Incoming total for that product. If you have three open pre-order POs for the same product, all three POs' quantities stack in the Incoming column on the Inventory page.

To review this, go to Products, then Inventory. Filter by vendor using the filter options at the top of the page. The Incoming column shows total incoming across all active POs for each product. You can compare this directly against Available to make reorder decisions.

To see the breakdown per PO rather than the total, go to Products, then Purchase orders. Filter by supplier. Each PO shows its status (Draft, Ordered, Partially received, Received) and the quantities involved.

Receiving Partial Shipments Against a Purchase Order

Pre-orders often arrive in partial shipments. A supplier ships some items now and the rest later. Shopify handles this cleanly through partial receiving.

When a shipment arrives, open the relevant PO in your admin and click Receive inventory. You will see a list of all items on the PO. Enter only the quantities that physically arrived in this shipment. Click Save.

If you receive a large number of variants across many products, a barcode scanner speeds up the receiving process significantly. 506 EasyScan SKU & Barcode lets you scan items at receiving to match them against open POs rather than manually entering quantities.

Shopify does three things automatically: it moves the received quantities from Incoming to Available at your location, it updates the PO status to Partially received, and it keeps the unreceived quantities as Incoming so your visibility into what is still outstanding is preserved.

If your shipment is missing items, consider checking if the missing items are on backorder or delayed, marking missing items as rejected during the receiving process, and contacting your supplier to confirm the status of the missing items.

You can receive against the same PO multiple times as each partial shipment arrives. The PO status moves to Received only when all quantities have been accepted.

Enter an estimated arrival date when you create or update a PO. This appears in your purchase orders list and helps you prioritise which POs to follow up on with suppliers without having to open each one individually.

When to Create a Linked Transfer from a Purchase Order

Creating a transfer linked to a PO is optional but useful in specific situations.

If you want to attach carrier tracking information to an incoming shipment from a supplier, create a linked transfer and add the tracking number there. This makes it easier to monitor delivery status without relying on external spreadsheets or email threads.

If your supplier ships partial orders and you want shipment-level receiving (accepting one physical package at a time rather than cherry-picking quantities per product), the linked transfer's shipment structure handles this more naturally than the base PO receiving flow.

After you link or create an inventory transfer from a purchase order, the Linked transfer card is displayed in the purchase order sidebar with the inventory transfer number and its current status.

For simple direct-from-supplier receiving with no tracking needs, skipping the linked transfer and receiving directly against the PO is faster and simpler.

A Practical Workflow for Pre-Order Management

Here is a repeatable process for merchants managing multiple supplier pre-orders:

Create one purchase order per supplier order. This gives you a clean record per ordering event with its own reference number, estimated arrival date, and status.

Mark each PO as Ordered as soon as your supplier confirms. This is what updates Incoming quantities on your inventory page.

Use the Inventory page filtered by vendor to see total Available plus total Incoming per product. This gives you the cross-reference view.

When a partial shipment arrives, receive only the quantities in that shipment against the relevant PO. The PO stays open and continues to show the remaining quantities as Incoming.

Add linked transfers only when you need carrier tracking or shipment-level receiving. Do not create them as a routine step for every PO.

Do not mark a PO as Received until all quantities have actually arrived. Receiving closes out the outstanding Incoming quantities for that PO. If you accidentally mark a PO as fully received before the remaining items arrive, those quantities will no longer show as Incoming and your inventory visibility will be inaccurate until you adjust manually.

Viewing Incoming Inventory Per Location

If you have multiple locations, Incoming quantities are tracked per location. A PO set to deliver to your warehouse shows as Incoming at the warehouse, not at your retail store.

On the Inventory page, use the Location filter to switch between views. If a product shows Available at one location but Incoming at another, you can see both at once by not filtering to a specific location and expanding the location breakdown.

This matters for pre-order planning if you route some supplier deliveries to different locations. Each PO specifies a destination location when created, and the Incoming count at that location updates accordingly.

If you are also tracking inventory levels in Google Sheets alongside your Shopify admin, the guide on syncing Shopify inventory to Google Sheets covers how to pull Available quantities automatically, which you can then cross-reference against your PO incoming data manually or via a lookup formula.

For merchants selling bulk goods like tea, herbs, or spices in multiple package sizes, there is an additional layer of complexity beyond what POs alone solve: the shared bulk stock pool problem. The guide on tracking bulk inventory by weight in Shopify covers how to reconcile total raw material stock against per-variant unit counts.

If you have multiple locations and need to control which products are visible in your Online Store based on stock at a specific location rather than total stock everywhere, the guide on controlling Shopify product visibility by location-specific inventory covers the workarounds for that specific multi-location problem.

Putting It Together

The simplest way to think about Shopify inventory:

  • Purchase orders tell Shopify what you've ordered from suppliers.
  • Transfers tell Shopify where inventory is physically moving.
  • Marking a purchase order as Ordered updates Incoming inventory.
  • Receiving inventory converts Incoming quantities into Available stock.